
How to Dry Herbs Without Trapping Moisture in the Jar
Sort woody and tender herbs first, dry them gently, and use the snap test before storage.
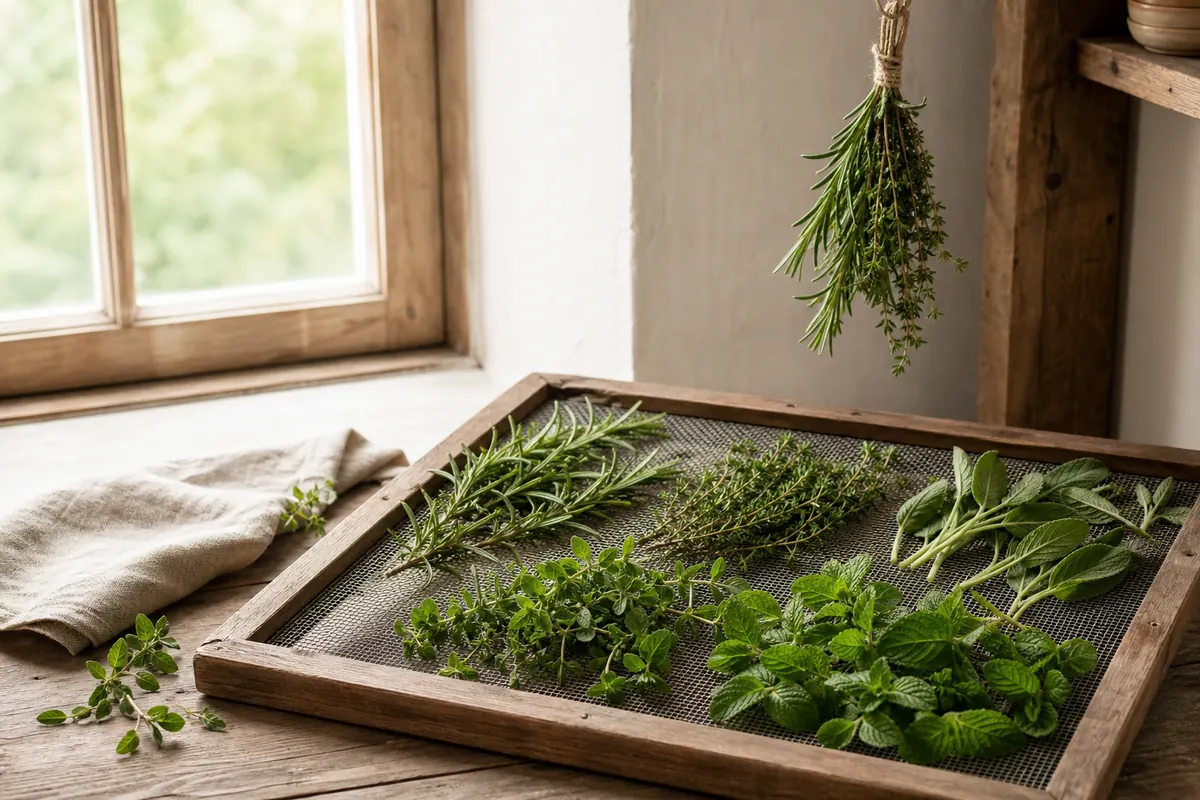
Air-dry woody herbs in small loose bundles, and use a low-temperature dehydrator for tender leaves or humid rooms. Store only when leaves crumble and stems snap, then check the closed jar for condensation during the first day.
Sort the harvest before you choose a drying method
How to dry herbs at home starts with leaf moisture, stem thickness, and room humidity.
One method will not treat every herb well.
Rosemary sprigs, thyme, oregano, and sage contain less surface moisture and hold sturdy leaves. They can dry slowly in moving room air.
| Herb condition | Best method | Main risk |
|---|---|---|
| Woody, low-moisture sprigs | Small air-dried bundles | Dense centers stay damp |
| Tender, high-moisture leaves | Dehydrator trays | Slow drying causes darkening |
| Very humid room | Dehydrator | Air drying takes too long |
| No dehydrator and low oven | Oven with close checks | Leaves cook before drying |
| Only a small handful | Tray or microwave test batch | Hot spots scorch leaves |
Basil, mint, parsley, cilantro, and chives carry more water or bruise easily. Slow bundles can darken, mold, or lose their clean aroma.
Harvest after morning dew dries but before strong midday heat. Essential oils and leaf texture are usually better than on wet or wilted stems.
Discard yellow, slimy, diseased, or insect-damaged leaves. Drying preserves existing quality rather than repairing poor herbs.
Wash only when soil, spray, or insects require it. Rinse gently, spin or pat dry, then wait until surface water disappears.
Never tie wet herbs into a bundle. Moisture trapped where stems meet is the easiest place for mold to start.
Air drying works when the bundle can breathe
Air drying needs warmth, low humidity, darkness, and steady circulation.
A bright windowsill adds light damage without guaranteeing faster drying.
Make bundles no thicker than a finger and tie the stem ends. Large bunches stay green outside while the center remains cool and damp.
- Prepare: Remove damaged leaves and the lowest foliage so the tie grips bare stems.
- Bundle: Gather four to six small sprigs, fewer for dense sage or rosemary.
- Hang: Keep bundles apart in a dark, ventilated room away from cooking steam.
- Protect: Place a vented paper bag around shedding leaves if dust or insects are a concern.
- Check: Rotate or separate any bundle whose center still feels cool after several days.
Thyme leaves and oregano may finish within one to two weeks, while thicker rosemary and sage can take longer. Room conditions control the calendar.
The herb is not done because the outside leaf feels papery. Bend a middle stem and crush a leaf from the bundle's center.
If a stem bends or a leaf folds, keep drying. A jar creates a closed environment where hidden moisture can move back through the batch.
Air drying preserves shape well, but it cannot beat high humidity. Change the method instead of waiting through repeated damp days.
Use a dehydrator for tender leaves and humid rooms
A dehydrator controls low heat and airflow, which makes it the most repeatable method.
It is especially useful for basil, mint, parsley, and separate leaves.
Strip large leaves from thick stems and spread them in one layer. Touching leaves trap small wet zones and dry at different speeds.
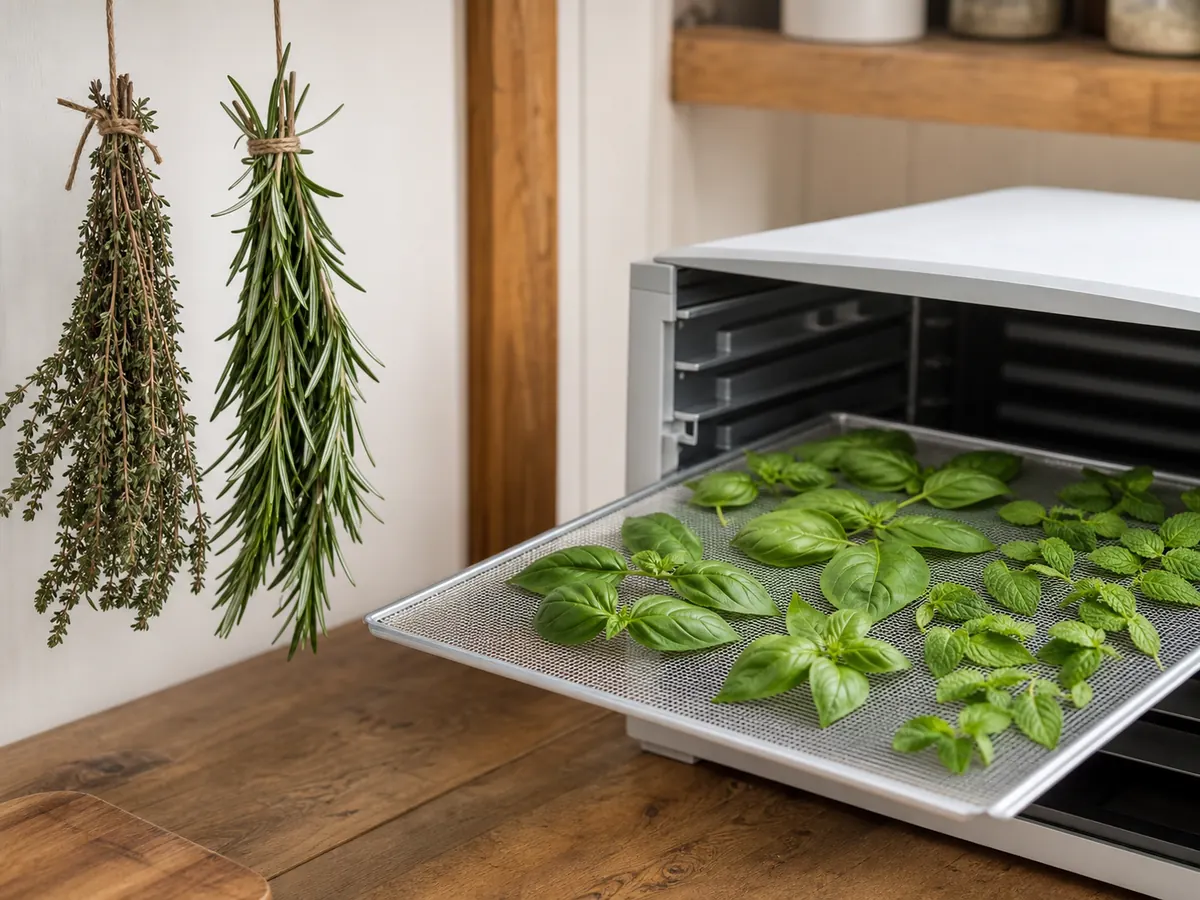
- Woody sprigs: Loose bundles work when indoor air is dry.
- Tender leaves: Single layers shorten the damp window.
- Low heat: Protects color and volatile aroma better than a hot oven.
- Tray checks: Remove crisp leaves while thicker ones continue.
Follow the machine's herb setting, often around 95 to 115°F. Higher heat shortens time but can cook away fresh green aromas.
Start checking after two hours for small leaves. Thick, whole, or crowded leaves may need several more hours.
Swap tray positions if the machine dries unevenly. Remove finished leaves so they do not spend extra hours in warm air.
Cilantro loses much of its fresh identity after drying. Preserve it only for cooked background flavor, not as a replacement for fresh cilantro leaves.
Mint dries well but changes character. Dried spearmint suits yogurt, soup, tea, and rubs better than a raw garnish.
How low can your oven go without cooking the leaves?
Oven drying is a fallback because many home ovens run hotter than herbs need.
The lowest dial setting may still cycle above 170°F.
Use an oven thermometer rather than trusting the control panel. If the oven cannot hold gentle heat, choose room air or a dehydrator.
Place clean, surface-dry leaves on a wire rack over a sheet pan. The rack exposes both sides and reduces wet contact with metal.
| What you see or smell | Meaning | Next move |
|---|---|---|
| Leaves stay green and slowly crisp | Heat is gentle enough | Continue checking often |
| Strong cooked-herb smell | Volatile aroma is leaving fast | Lower heat or stop |
| Brown edges before crisp centers | Temperature is too high | Move to a cooler method |
| Soft patches under leaves | Airflow is poor | Use a rack and turn leaves |
| Steam on the oven glass | Surface moisture was high | Vent and reduce the load |
Keep the door slightly open only when the appliance manual allows it. Some modern ovens shut off or create a safety risk when propped.
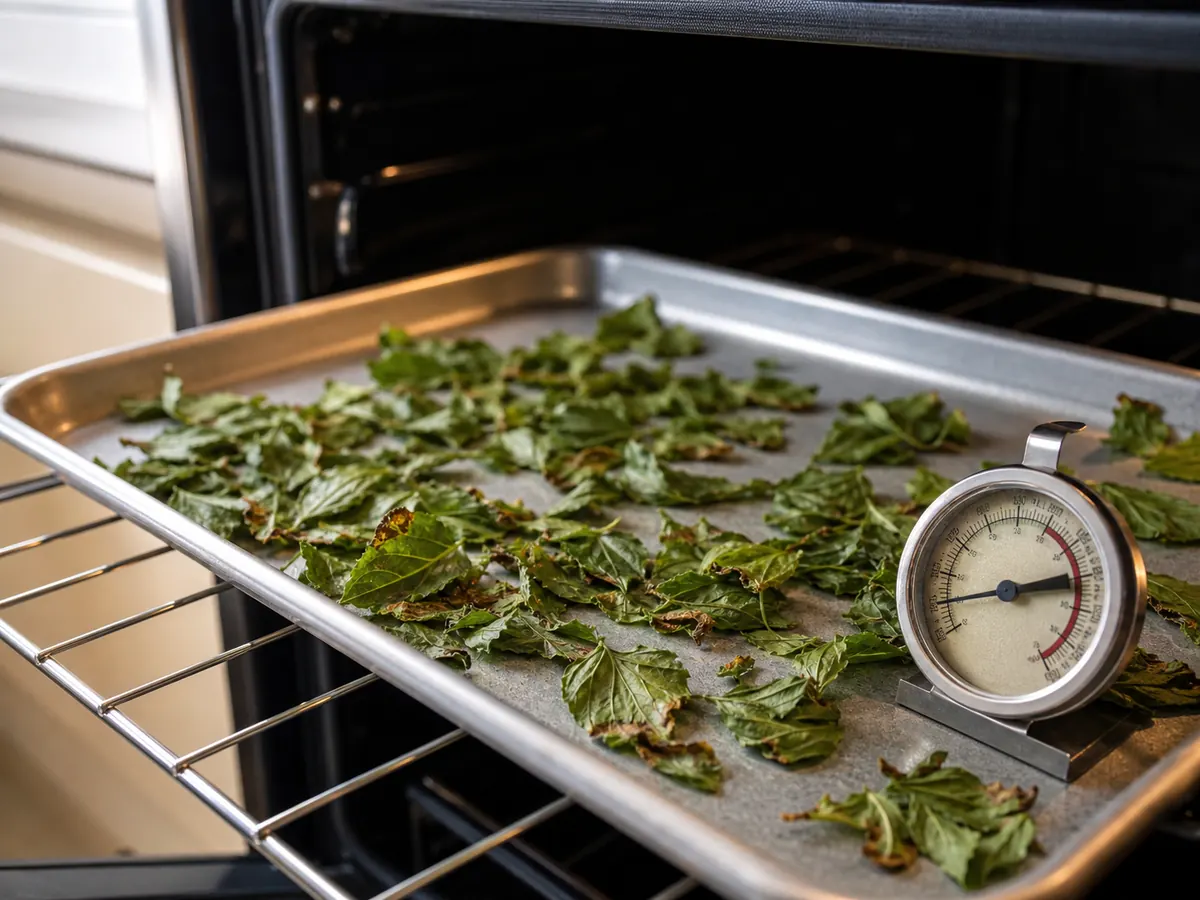
- Green but crisp: Gentle drying is still working.
- Brown edges: Lower the heat or change methods.
- Cooked smell: Volatile herb aroma is leaving too fast.
Check every 20 to 30 minutes. Small thyme leaves can finish long before a sage leaf or rosemary stem.
Do not chase speed. Brown leaves may be dry, but the cooked flavor is different from gently preserved herb aroma.
Drying time is a condition, not a schedule
A recipe can give a time range, but the herb, room, and equipment decide the finish.
Use time only to schedule the next check.
A rainy week can double an air-drying window. A fan may help circulation, but it should not blast leaves across the room.
Thick sage leaves hold water along the center vein. Tiny thyme leaves dry quickly, though their flexible stems may need more time.
Whole oregano sprigs dry differently from stripped leaves. Stems slow the batch but make hanging and handling easier.
| Variable | Faster drying | Slower drying |
|---|---|---|
| Leaf thickness | Small thin leaves | Broad fleshy leaves |
| Air movement | Gentle continuous flow | Closed cupboard or dense bundle |
| Room humidity | Dry conditioned air | Rainy or steamy room |
| Preparation | Single layer or loose sprigs | Stacked leaves and wet stems |
| Equipment | Even low heat | Hot cycles with cool pauses |
Check the slowest piece instead of averaging the tray. One flexible stem can return moisture to many crisp leaves in a sealed jar.
Move finished pieces to a clean cooling tray. Leaving them beside wet leaves keeps them exposed to humid air.
Record the room and method when a batch works well. That note will be more useful next season than a universal drying time.
If the batch smells musty before it feels crisp, stop. Longer drying cannot make early spoilage safe.
The snap test catches hidden moisture before mold
Dry herbs should crumble between your fingers, and small stems should snap rather than fold.
Cool flexibility means water remains inside.
Test the thickest stem and a leaf from the slowest area. The driest outside piece tells you little about the full batch.
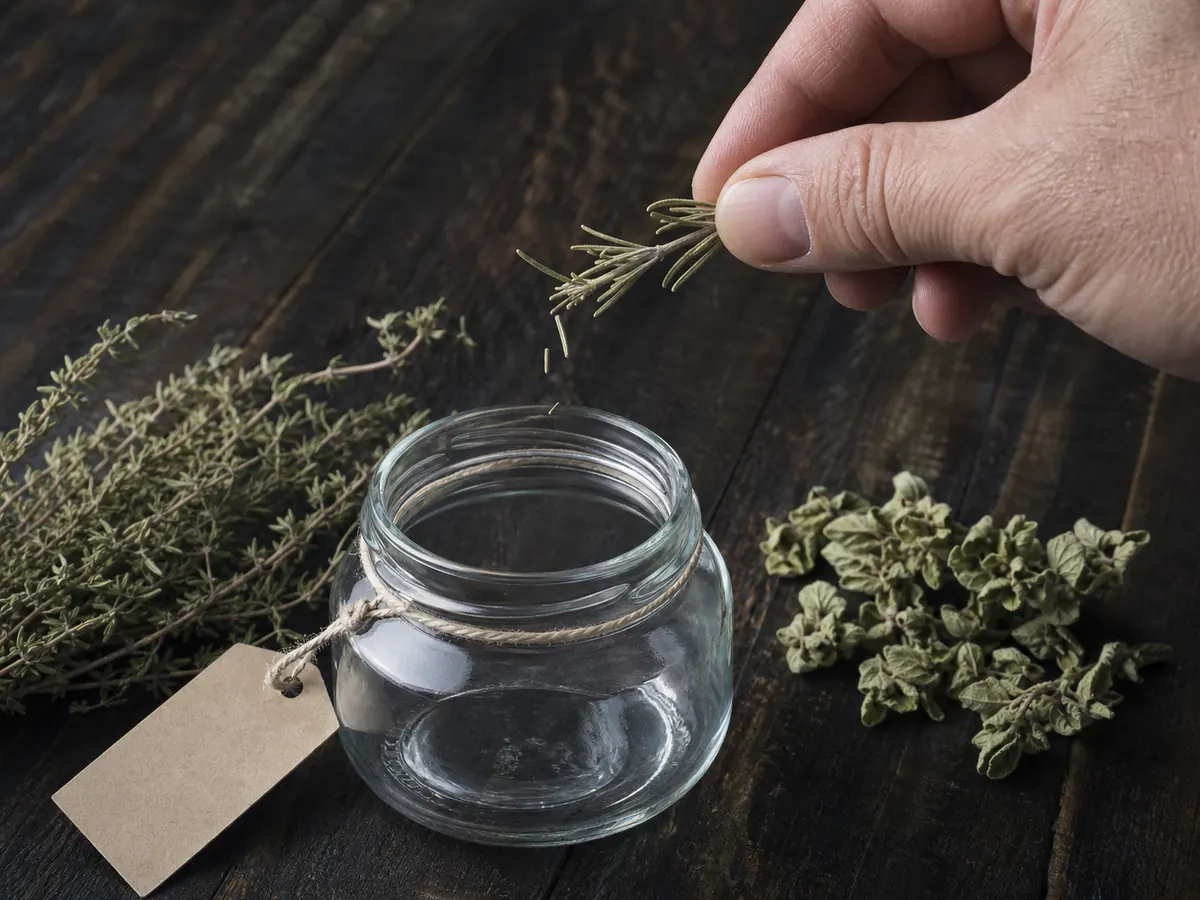
- Leaf test: It crumbles instead of folding.
- Stem test: A small stem breaks with a dry snap.
- Center test: The middle of the bundle feels as dry as the outside.
- Cool-down: Warm herbs reach room temperature before storage.
Let dehydrated or oven-dried herbs cool completely on the tray. Warm air trapped in a jar can form condensation as it cools.
If you see droplets, fogging, or soft leaves during the first day, empty the jar and dry the batch again. Do not wait for mold.
A musty odor, sticky clump, or visible growth means discard. The discard versus stale tests explain why moisture changes the safety decision.
Good drying removes the water that supports spoilage. It does not sterilize herbs or make damaged material safe.
Strip, jar, label, and check again after 24 hours
Store herbs whole or in large pieces after they cool. Crushing everything at once exposes more surface area to oxygen and aroma loss.
Strip leaves over a clean tray and remove woody stems. Pack them loosely into dry glass jars with tight lids.
Label the herb and drying date. Dried green leaves become harder to identify once color and shape fade.
- First day: Check for fog, droplets, or newly soft leaves.
- First week: Smell the jar and inspect for clumps or mustiness.
- Working jar: Keep a small amount near the stove and refill it from a darker reserve.
- Storage place: Choose a cool cupboard away from steam, sunlight, and dishwasher heat.
Use clean dry fingers or a spoon. Steam entering an open jar over the pot can undo careful drying.
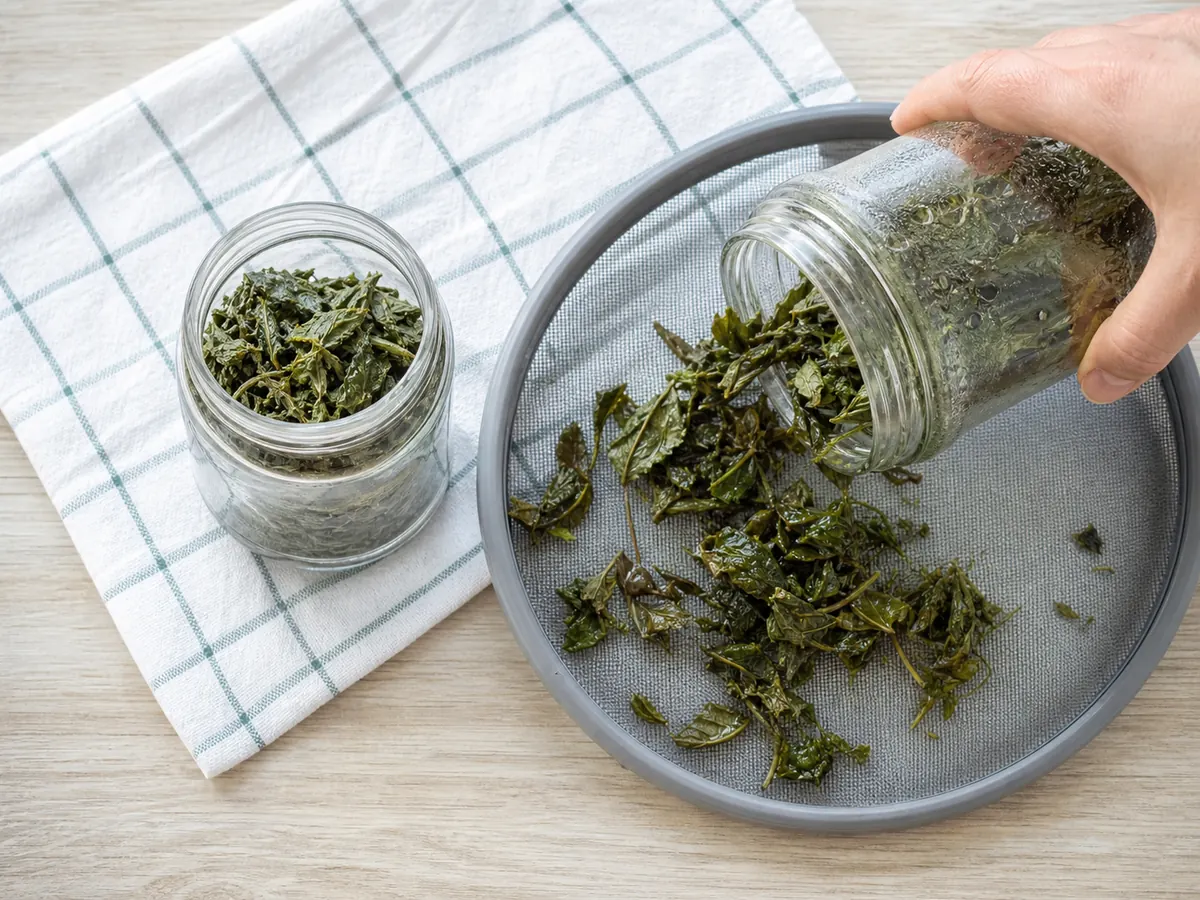
- Clear glass: No fog or droplets appear after closing.
- Loose leaves: The batch does not soften or clump.
- Damp return: Empty the jar and dry again before storage.
Aroma matters more than the calendar. Compare the herb with the practical shelf-life ranges, then replace it when the jar smells weak.
When cooking, start with about one third as much dried herb as fresh. The fresh-to-dried conversion still changes with leaf type and dish moisture.
Protect the aroma after the water is gone
Drying creates a stable herb, but oxygen, light, and heat still remove aroma. Storage begins the moment leaves reach room temperature.
Keep leaves whole until the recipe needs them. Crushing breaks oil glands and exposes more surface to air.
Rub dried mint between your fingers just before use. The fresh break releases more aroma than pre-crushed dust.
Measure over the counter, not over steam. Moist air can enter the jar and soften a batch that dried correctly.
- For soup: Crumble sturdy herbs early enough to rehydrate in liquid.
- For roasting: Mix dried leaves with oil so exposed flakes do not scorch.
- For tea: Keep leaf pieces larger so they strain cleanly and release slowly.
- For garnish: Choose a fresh herb because dried leaves cannot restore tender texture.
Taste the first dish made from a new batch. Home-dried herbs can be stronger or weaker than the commercial jar a recipe assumes.
Start with less, allow hydration, then adjust. A spoonful added late may stay sharp and papery because the leaves never softened.
Keep reserve jars dark and open them less often. A small working jar limits the air and steam that reach the main batch.
Aroma loss is quality decline, not automatic danger. Mold, moisture, pests, and rancid carrier ingredients change the discard decision.
Keep notes on strong batches and weak ones. Harvest stage, leaf size, and drying temperature explain more than the date alone.
When aroma matters most, use the oldest jar in cooked food and reserve the newest leaves for tea or finishing.
Some herbs are better frozen or used fresh
Cilantro, chives, parsley, and delicate basil lose much of their fresh aroma and tender texture. Freeze them for cooked dishes or make pesto and herb paste.
Dill can dry, but freezing often protects more green character. Tarragon also loses its anise lift quickly under heat.
Rosemary, thyme, oregano, sage, marjoram, and mint usually justify drying. Their leaves remain useful after the fresh texture disappears.
Choose the future dish before the method. Soup seasoning, tea, garnish, and pesto ask for different preserved forms.